Mr. Handyman explains how to prep drywall before installing a tile backsplash.
|
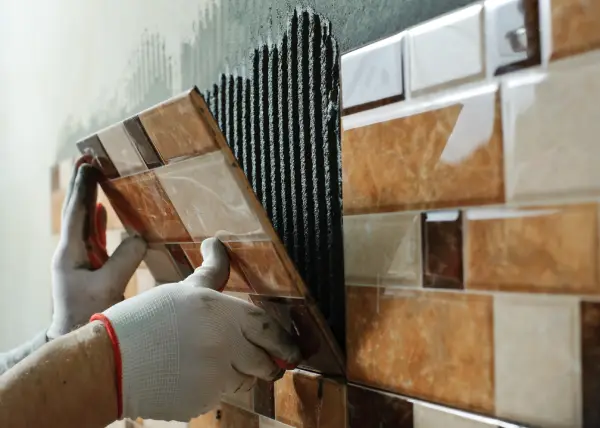
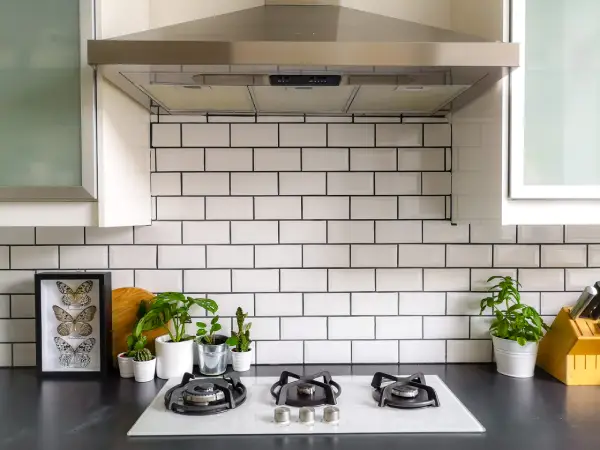
Installing a new tile backsplash is the perfect way to update your kitchen. But if you’re going to take on this project yourself, you’ll need to know how to prep the drywall for tile. A little work upfront will go a long way to ensure your new backsplash looks great and lasts for as long as you want it.
Before starting your tile backsplash project, start prepping the drywall for the tile. Lumps and bumps will lead to misalignment and crooked tiles, so you’ll have to smooth them out (more on this later). If your drywall is prepped, it will create a smooth and uniform surface for the tile to be evenly placed. The wall on which you place the tile is the foundation of your project. It will hold your beautiful backsplash together for years, but only if you take the necessary steps to properly prepare it.
Home improvement, especially drywall prep, can be a messy project. Before you start prepping drywall for tile, cover the area surrounding your work surfaces with tape and drop cloths. Sheets of cardboard or some thin plywood under the drop clothes add additional protection should you drop a heavy tile or tool on your counter or cook surface. Also, be sure to cover your sink, if it’s in the work area.
Since we’re on the subject of covering up and protecting areas around your kitchen, make sure you have the proper protection too. Protection for your eyes and hands is essential when removing old tile, sanding drywall, or applying adhesive and grout.
If all this sounds like too much time and effort, and you’re not interested in taking on this DIY project, find a local handyman. An experienced pro will have all the right tools and knowledge to prep the drywall before putting up any tile. If they don’t do the necessary work to prepare the surface, you picked the wrong person for the job.
Preparing a Wall for Tiling
If you’ve decided to forge ahead and take a DIY approach to this project, there are some steps you need to follow to ensure your time and effort are rewarded. Our pros have outlined how to prep drywall for tile in the following five steps:
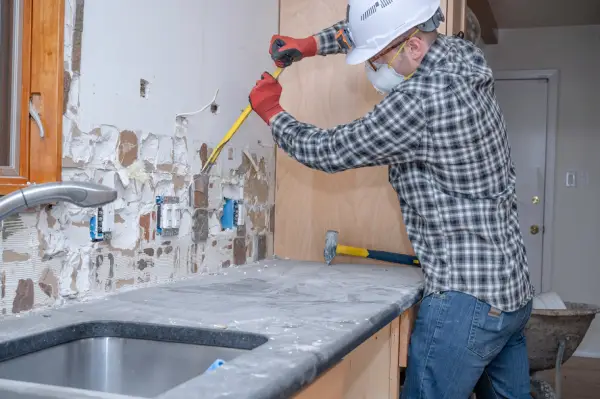
Step 1: Remove Loose Paint, Wallpaper, or Old Tile
It’s never a good idea to tile over loose paint or wallpaper, so it’s important to remove it. Before you start this process, though, remove any molding, switch plates, outlet covers, or other hardware that might get in your way. You want a clear surface to start your project. Once everything is clear, remove the old paint, wallpaper, or tile. After all the old material has been removed, check the surface for any defects, like holes or gouges that may have occurred when you removed the old material (more on this in step 3).

Step 2: Clean the Wall
Once your wallpaper and/or old paint is removed, it’s time to prep the wall for the new tile. If you need to remove a surface layer of dust, oil, or grease, use TSP (trisodium phosphate) or an ammonia-based cleaning solution. Let the wall dry before moving on to the next step of your drywall prep.
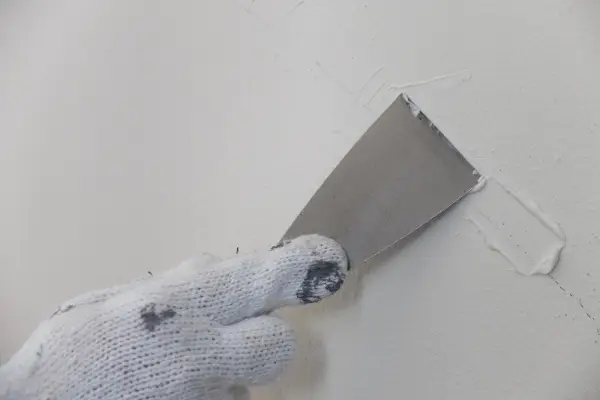
Step 3: Patch Any Holes or Cracks
If you gouged or damaged the drywall in the process of removing the old material, no problem. Use some drywall spackle to fill any holes or imperfections. Filling in gaps and/or holes will ensure a smooth surface for your new tile. Try to remove any excess spackle from the wall, as this will make sanding those areas much easier and reduce the amount of dust.
Use drywall tape and joint compound for any exposed seams and/or gaps. Make sure you let the spackle and/or joint compound dry completely (about 6 to 8 hours) before you move to the next step of your drywall prep.
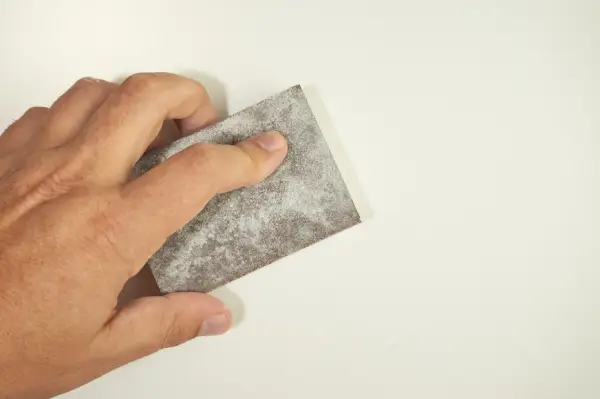
Step 4: Sand the Wall
Once the spackle and/or joint compound has completely dried, you can begin sanding any rough areas to make the surface completely smooth. Before you start, a face mask and eye protection are recommended since this process will create a lot of dust.
Start with medium-grit sandpaper to smooth the area. Keep a vacuum nearby to remove the dust and to keep your work area clean. Once you have the top layer of spackle and/or joint compound sanded down, you can finish it off with some fine-grit sandpaper and a damp sponge to make the surface smoother and remove any dust.
Step 5: Apply Primer and Let It Dry Completely
After spackling, sanding, and removing all the dust, the wall should be ready for a coat of primer. While adding a coat of primer is not essential for a wall covered by tile or wallpaper, it will help cover up imperfections if you decide to paint instead. Once you’ve primed the wall, let it dry completely! It’s important to complete the first four steps of this drywall prep to create an ideal surface for your new tile. Once you’ve completed them, you’re ready to tile!
Avoid All The Prep and Call The Pros
Depending on the type of material currently covering your wall and how difficult it is to remove, prepping your drywall for new tile can be quite a process. In addition, you’ll need the right tools, techniques, and patience to get the job done right. If you’re not interested in putting in all the time and effort that’s required, call the local pros to do it. The experienced pros at Mr. Handyman’s know exactly how to prep drywall for tile and can install the backsplash for you!
All of Mr. Handyman’s projects are backed by the Neighborly Done Right Promise®, which means your project will be done right the first time. Don’t put your home projects off any longer. Request service today!
This article is intended for general guidance only and is not applicable to every situation. You are responsible for determining the proper course of action for your property and situation. Mr. Handyman is not responsible for any damages that occur as a result of advice and/or guidance derived from its blog content. Some Mr. Handyman services vary by location. Contact your local Mr. Handyman franchise for more information.
FAQs About Prepping Drywall for Tile
For over 25 years, Mr. Handyman® professionals have been helping homeowners and businesses repair, maintain, and enhance their space. We are a one-stop solution for everything on your to-do list. This includes answering your questions about home repairs, maintenance, and improvements. Here are answers to some of your most frequently asked questions on prepping drywall for tile.
Can you put backsplash on drywall?
Yes, you can put backsplash on drywall as long as the surface is prepared correctly. Ensure the drywall is clean, dry, and structurally sound. If the wall is painted or glossy, light sanding may be needed to help the tile adhesive bond to the wall. Prepping drywall for tile ensures your backsplash stays put and looks flawless.
What’s the best method of prepping drywall for tile backsplash?
When prepping drywall for tile, it pays not to skip steps. Following this formula will give you results you can feel proud to show off:
- Cleaning the surface of any grease, dust, or residue
- Repairing holes or dents with joint compound
- Sanding until smooth
- Applying a high-quality bonding primer
In high-moisture areas (like behind a sink or stove), consider replacing standard drywall with cement board before installing backsplash tile. Cement board isn’t entirely waterproof, but it is more moisture-resistant than standard drywall and will provide a more reliable foundation. Need more prep advice? Check out our full drywall repair services guide.
Do I need to remove old adhesive when prepping drywall for tile?
Definitely. If you're replacing old tile, remove leftover adhesive before installing the new tile. Bumps or dried mastic will create uneven surfaces that can ruin alignment and cause tiles to pop off. Scrape thoroughly, sand if needed, and wipe clean before applying a primer.
Do I need to sand painted drywall before installing tile?
If the drywall has a glossy or semi-gloss paint finish, sanding before adding tile is essential. Sanding the paint will help your tile adhesive create a more secure and long-lasting grip. After sanding, be sure to wipe the area clean and follow the rest of the steps to prep the area.
Should I use a primer when prepping drywall for tile?
Yes, priming is a key step in preparing drywall for tile. A quality primer seals the surface, improves adhesive grip, and reduces moisture absorption. This step is especially important in moisture-prone areas like kitchens or bathrooms. Need inspiration? Visit our kitchen services page.
Can you put a backsplash on drywall that’s been painted?
Yes, you can put a backsplash on painted drywall, but only if the surface is properly prepped. Without the right prep, tiles may not adhere well and could eventually loosen or fall off, especially in moisture-prone areas like kitchens or bathrooms.
Painted drywall can work as a tile base if the paint is intact (no peeling or bubbling) and you take the right steps to prepare it.
How do you prep painted drywall before installing a backsplash?
Proper surface prep is essential for tile to bond with painted drywall. Here’s how to do it right:
- Clean the wall. Use a degreaser or mild detergent to remove grease, soap, and dust. Let it dry completely.
- Scuff the paint. Lightly sand the surface with 120- to 150-grit sandpaper to dull any sheen and help the mortar grip.
- Remove dust. Wipe the wall clean with a tack cloth or a damp rag.
- Prime if needed. If the wall has oil-based or glossy paint, apply a bonding primer for extra adhesion.
These steps will help ensure your backsplash adheres securely and holds up over time.
What type of paint is best for installing a backsplash on drywall?
Latex paint is generally best for installing a backsplash on drywall, but it must be fully cured and properly prepped. Glossy or oil-based paints can prevent mortar from bonding, so the surface should be lightly sanded or primed with a tile-friendly bonding agent. If you’re wondering how to prep drywall for tile, always test the painted surface and completely remove any peeling or flaking paint before tiling.
How long does prepping drywall for tile take?
Usually, drywall prepping for tile takes just a few hours, depending on the condition of your wall. Cleaning, patching, sanding, and priming can often be completed in a day, making your surface tile-ready by the next.
What happens if I skip prepping drywall for tile?
Skipping prepping drywall for tile can lead to poor adhesion, crooked tile lines, moisture damage, and, eventually, tiles falling off. Like any home improvement project, success starts with a solid foundation. Want a backsplash that stays put? Start with the prep.
When you’re learning how to prep drywall for tile, precision matters. That’s why Mr. Handyman shows up on time, in uniform, and ready to get the job done right—the first time. We’ve seen every backsplash blunder in the book, and we’re here to make sure yours goes off without a hitch.
Want it done right? Find your local Mr. Handyman and schedule your on-site assessment today.