Mr. Handyman explains the drywall taping and mudding process for smooth, paint-ready walls.Mr. Handyman® breaks down how to tape and mud drywall:
|
Taping and mudding drywall might sound messy (and trust us, it can be), but it’s one of the most important steps in finishing any drywall project.
Whether you're renovating a single room or simply touching up after a repair, getting this process right makes all the difference between a wall that looks professionally finished and one that may look rushed or shoddy. In this guide, we’ll break down what drywall taping and mudding actually mean, why these steps matter, and how to do them right so your walls are smooth, seamless, and ready for paint.
What Is Taping and Mudding Drywall?
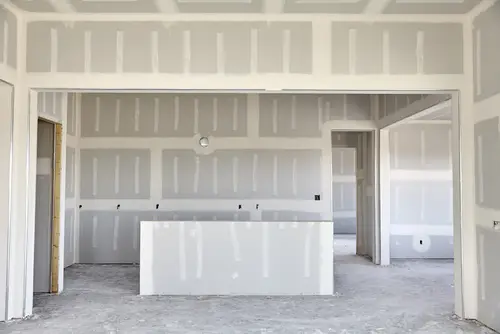
Taping and mudding drywall is the process of sealing and reinforcing joints between drywall sheets to create a smooth, finished surface. It’s what gives your walls the clean, polished look you want before painting or texturing.
- Taping drywall: Applying paper or mesh tape over the seams between drywall panels.
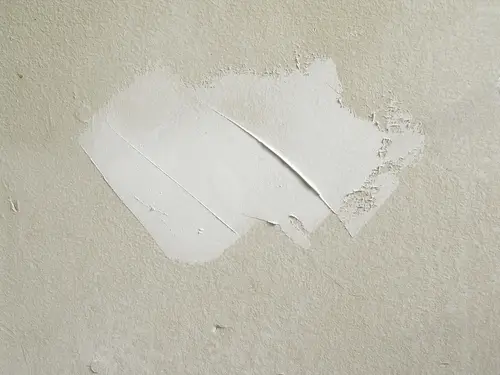
- Mudding drywall: Using joint compound (“mud”) to coat those seams, cover screw holes, and create a smooth surface.
Mudding fills in imperfections in the drywall, such as dents, nail holes, and minor cracks that might otherwise blemish your walls. If you're dealing with more noticeable fractures, check out our guide on how to repair drywall cracks for step-by-step instructions.
Together, drywall taping and mudding improve structural integrity, reduce cracking, and help you adhere to fire safety codes. It’s a multi-step process that takes time and patience, but the results are worth it.
Step-by-Step: How to Do Drywall Mudding and Taping
Learning how to do drywall mudding and taping might sound complicated, but trust us, with the right tools and techniques, even first-time DIYers can get solid results. Here’s a simplified, step-by-step process:
Step 1: Gather Your Supplies
To get started, you’ll need:
- Drywall joint compound (all-purpose for base coats, topping for final coat)
- Drywall tape (paper or fiberglass mesh)
- Taping knives (6” and 10” sizes)
- Mud pan
- Sanding block or pole sander
- Utility knife
Pro Tip: If you’re unsure how much compound to buy, use our deck material calculator to estimate materials—it works for more than just decks!
Step 2: Apply the First Coat of Mud
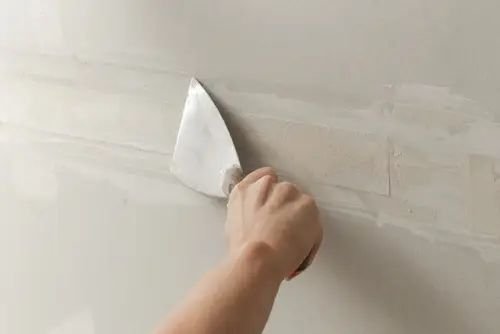
Using your 6” knife, scoop joint compound into the mud pan. Apply a thin layer directly over the drywall seams. This coat helps the tape stick and bonds the sheets together.
Step 3: Tape the Seams
Immediately after applying the first coat, press drywall tape over each seam. Smooth it out with your knife to remove any bubbles. For corners, fold paper tape lengthwise to create a clean crease. Mesh tape can also be used for difficult areas, but it’s usually best paired with a quick-setting compound.
Step 4: Add Second and Third Coats
Let the first layer dry completely. Then, apply a wider second coat using your 10” knife, feathering out the edges. After that dries, add a third, even wider coat to blend the surface fully.
Each coat should be thinner than the last—and yes, patience really is key here.
Step 5: Sand Between Coats
After each coat dries, lightly sand the mud. Use a sanding block or pole sander with fine-grit paper (around 120–150 grit). This helps create a perfectly smooth surface before painting.
Step 6: Inspect and Touch Up
Use a bright light or flashlight to inspect the surface. If you spot lines, bubbles, or dips, apply a skim coat of compound and sand again. The smoother the finish now, the better your paint will look later.
Finishing Touches: Texture, Paint, and Polish
Once the drywall taping and mudding are complete and your surface is smooth, it’s time to finish the job:
Step 7: Add Texture (Optional)
If you’re planning to match any other existing walls or add a textural component, now’s the time to apply it.
Some popular drywall texture options include:
- Knockdown
- Orange peel
- Slap brush
You can use a texture sprayer or brush, depending on the style you go with. Just remember to allow the texture to dry fully before you paint.
Step 8: Prime and Paint
After sanding off any final imperfections, wipe down the wall with a damp cloth to remove any dust. Then:
- Apply a drywall primer to seal the surface.
- Once dry, add your topcoat of paint.
From there, choose a paint sheen that makes sense for the room’s use. Common choices include flat for living rooms, high-gloss for bathrooms and kitchens, and eggshell or satin for higher-traffic areas.
Common Mistakes to Avoid When Taping and Mudding Drywall
Even experienced DIYers can run into issues when taping and mudding drywall. Here are a few of the most common mistakes—and how to avoid them:
- Skipping the tape: Joint compound alone can crack. Always use tape to reinforce drywall seams.
- Applying too much mud too soon: Heavy layers take longer to dry and are harder to sand. Stick to thin, even coats.
- Not feathering the edges: If you don’t feather properly between coats, you’ll end up with visible ridges and uneven walls.
- Rushing the drying time: Each coat of compound needs to fully dry before sanding or adding another. Patience is key!
- Using the wrong tape or mud: Mesh tape with all-purpose mud can lead to bubbles. Use paper tape with air-dry compound or pair mesh tape with setting compound for a stronger bond.
By avoiding these common pitfalls, your drywall taping and mudding project will look more professional and save you countless hours of sanding and rework.
Need a Hand? Mr. Handyman Has You Covered
Even if you’re confident in your DIY abilities, drywall taping and mudding take time, tools, and attention to detail. If you’d rather skip the mess and enjoy a professional-grade finish the first time, schedule drywall repair services from your local Mr. Handyman® team.
From patching holes to full-room drywall installations, our skilled professionals deliver clean, quality results you can count on.
This article is intended for general informational purposes only and may not be applicable to every situation. You are responsible for determining the proper course of action for your home and property. Mr. Handyman is not responsible for any damages that occur as a result of this blog content or your actions. For the most accurate guidance, contact your local Mr. Handyman location for a comprehensive, on-site assessment.
FAQs About Taping and Mudding Drywall
Mr. Handyman has been helping homeowners and businesses repair, maintain, and enhance their spaces for over 25 years! We are the one-stop solution for everything on your to-do list. This includes answering your questions about home repairs, maintenance, and improvements. Here are answers to some of your most frequently asked questions on taping and mudding drywall.
What is the purpose of taping and mudding drywall?
Taping and mudding drywall seams strengthens joints, creates a smooth surface, and prevents cracks or visible seams. The drywall taping and mudding process ensures your walls are durable, fire-code compliant, and ready for paint.
Does drywall need to be dry before taping and mudding?
Yes. Moisture can cause poor adhesion and mold, so ensure your drywall is dry before applying tape and mud. Learn more about what to do if drywall gets wet and follow the proper protocols to avoid further repairs down the line.
How many coats are needed for proper drywall taping and mudding?
Typically, 2–3 coats of joint compound are required when taping and mudding drywall. The first coat embeds the tape, the second fills seams, and the third smooths the surface. Sand lightly between coats for a professional finish.
Which tape type should I use when taping and mudding drywall?
Use paper tape with an all-purpose compound to tape most drywall seams. For corners or repairs, self-adhesive mesh tape works well, but should be paired with a quick-setting compound to avoid bubbles.
How do I avoid bubbles and ridges when taping and mudding drywall?
To prevent bubbles and ridges when taping and mudding drywall, apply a thin base coat, press out air bubbles, and feather each layer with a wide joint knife. Sand between coats and use light passes to keep the wall smooth.
Can homeowners do drywall taping and mudding themselves?
Yes, homeowners can do drywall taping and mudding themselves with patience, proper tools, and practice. For flawless results or large repairs, schedule professional drywall repair services from Mr. Handyman.