Installing a new mailbox is a cost-effective way to boost the curb appeal of your home. A mailbox is often the first thing your guests and neighbors see when they’re approaching your residence, so it’s important that it looks great and is built to last. You must consider a number of factors when installing a new mailbox, including complying with USPS regulations and ensuring that it remains sturdy for years to come.
Step 1: Choose the Right Mailbox and Post
Before beginning the installation, you'll need to select a mailbox and post that meet your needs. You must ensure that the following factors are properly met:
- Size and Style: Mailboxes come in standard (T1), large (T2), and extra-large (T3) sizes. You will need to determine your mail volume first, then choose an appropriate size.
- Material: Mailboxes are available in metal, plastic, and wood. Consider your local climate to ensure your selection is weather-resistant and durable. Contact the mailbox manufacturers or a professional handyman for guidance.
- Post Compatibility: If you're replacing an existing mailbox post, or installing a new post and mailbox, double check that the post you choose is compatible with your mailbox. A larger, heavier mailbox will require a more substantial post to support its weight.
Step 2: Ensure USPS Compliance
You must follow the United States Postal Service’s (USPS) strict regulations for mailbox placement and height.
- The bottom of the mailbox must be 41 to 45 inches above the road surface.
- The mailbox post must be 6 to 8 inches from the curb.
- If your home does not have a raised curb, check with your local postmaster for guidance.
Following these guidelines will keep you from having to do a second installation. If you need assistance, contact a professional handyman service.
Step 3: Remove the Old Mailbox and Post
If you are replacing an existing mailbox, you’ll need to remove the old one first. Follow these steps:
- Soften the soil by pouring water around the post to make removal easier.
- Dig around the mailbox post with a shovel to loosen the soil.
- Check for concrete support. If the post is set in concrete, you will need to dig wider and use leverage to remove the post and the concrete around it.
- Pull the post out carefully, using a pry bar or car jack if necessary.
- Dispose of or recycle the old mailbox and post properly.

Step 4: Install the New Mailbox Post
To ensure a sturdy installation, follow these steps:
- Dig a hole at least 24 inches deep and 6 to 8 inches wide.
- Position the new post in the hole, making sure it is at the required height.
- Use supports (such as wood stakes) to hold the post in place.
- Prepare and pour concrete around the base of the post, leaving a few inches of space at the top of the hole.
- Check for level and adjust as necessary before the concrete sets.
- Allow the concrete to dry completely before proceeding to the next step.
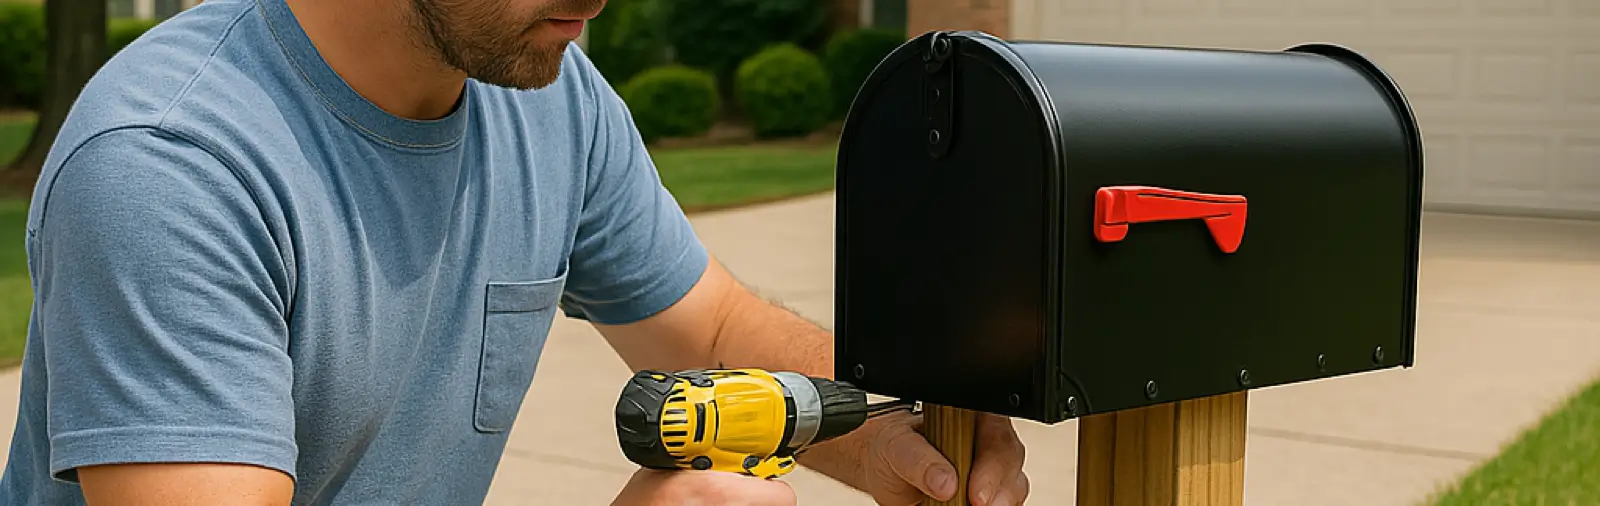
Step 5: Attach the Mailbox to the Post
Once the concrete is dry, attach your mailbox:
- Follow manufacturer instructions to secure the mailbox using mounting brackets.
- Use weather-resistant screws to ensure a long-lasting hold.
- Double-check the alignment to ensure the mailbox sits level and is accessible to mail carriers.
Step 6: Personalize Your Mailbox
Now comes the fun part—personalizing your new mailbox! Consider these customization options:
- House Numbers: Clearly label your mailbox with numbers that are at least one inch tall.
- Street Address: If your mailbox is on a different street from your home, add the full street address.
- Decorations: Paint, decals, or themed designs can add a personal touch.
Need Help Installing Your Mailbox?
Installing a new mailbox may seem like a straightforward project, but has many challenges. If uprooting an old mailbox and pouring concrete gives you second thoughts, Mr. Handyman® is here to help. Our expert service professionals can install your mailbox correctly, ensuring it meets USPS regulations and remains sturdy for years to come. We stand behind our work with the Neighborly Done Right Promise® which ensures we’ll get the job done right.
Contact Mr. Handyman today or request an appointment online to get the job done right the first time.
This article is intended for general informational purposes only and may not be applicable to every situation. You are responsible for determining the proper course of action for your home and property. Mr. Handyman is not responsible for any damages that occur as a result of this blog content or your actions. For the most accurate guidance, contact your local Mr. Handyman location for a comprehensive, on-site assessment.