Vinyl, wood, and even hardboard siding are durable but not indestructible. If exposure over time, an accident, or a weather event has damaged a section of your siding, it should be promptly replaced to keep your home protected. If not tackled quickly, damage to your siding can lead to water, moisture, and mold settling in your home's framing, insulation, and other components. Avoid structural issues by addressing siding damage promptly!
If you are researching what’s involved in repairing or replacing siding on your house, there’s a good chance you have already noticed one or more of these signs that indicate it may be time to replace the siding on your house:
- Cracking
- Warping
- Holes in the siding
- Soft or rotten pieces of wood siding
- Pieces of siding falling off the house
- Misaligned siding
- Missing pieces of siding
It’s important to regularly inspect your siding for these problems, to ensure that your home is protected. If you discover damage to your siding, there’s always a chance that there is additional damage behind the siding from moisture or exposure. A Mr. Handyman® service professional can help assess damage to your siding and ensure that any siding repairs deal with issues to your home itself, as well.
Types of Siding
Whether you’re looking to replace a few pieces of siding, or all of it, understanding the type of siding you currently have and the options available is key. For example, vinyl siding is cheaper than wood siding, but color matching replacement siding can be more difficult, especially if your siding is not new.
The three most common types of siding are:
Vinyl siding
Vinyl siding is made from PVC and other plastics and is ideal for weather protection. It’s also available in many colors and is one of the least expensive options when changing the siding on your house. Vinyl siding is sensitive to extreme UV light and severe weather conditions, but you can expect it not to fade for 10 to 15 years.
Wood siding
Wood siding can be stained or painted and installed in various configurations to create a unique look for your home. Of course, the downside to wood is that it’s combustible, unlike metal or cement siding. You'll need to add ongoing maintenance and occasional restaining or painting to your exterior maintenance tasks. Recoat your wood siding about every three years and repair any damage immediately. This way, your siding could last 20 years or more.
Fiber cement siding
Fiber cement siding is ideal for homes in harsh climates because it offers plenty of protection against wind, hail, and ice. It can also be stamped to look like wood and other materials, so it's easy to find the right match for your style. Fiber cement siding is expensive to have installed, but it is fire-resistant and can last up to 50 years.
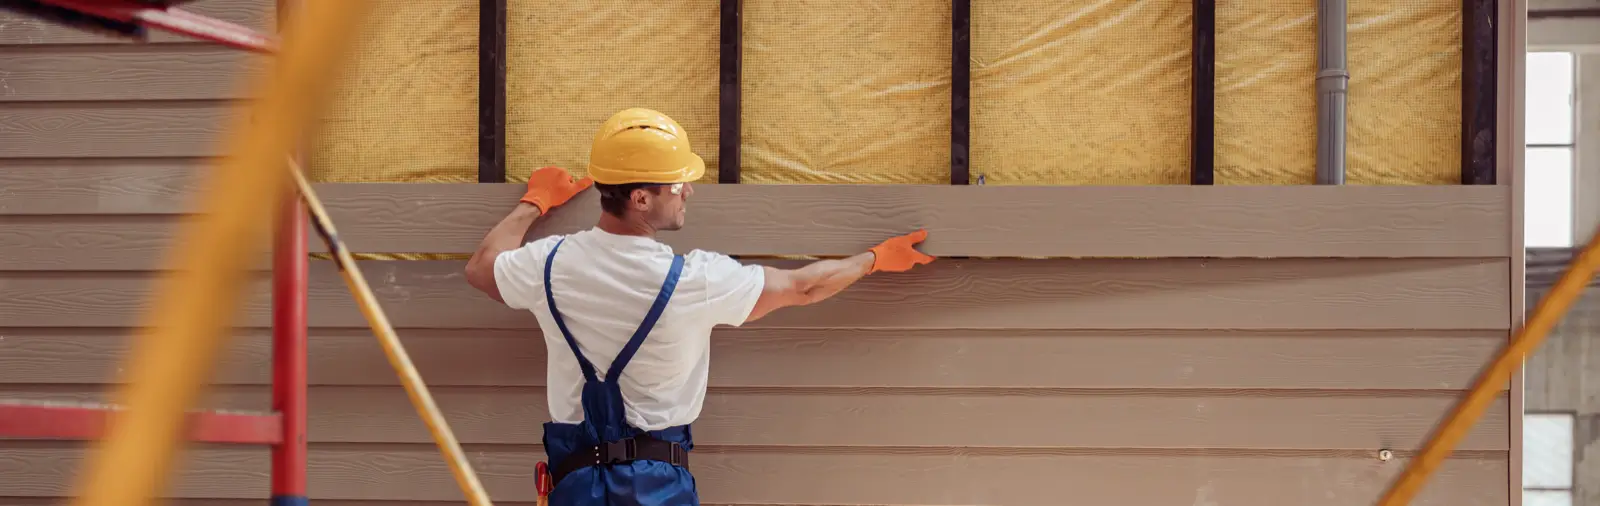
How to Replace Vinyl Siding
Regardless of the type you choose, replacing even a few pieces of siding on a house is labor-intensive and time-consuming. For most homeowners, hiring professionals to install new siding is the way to go.
Replacing vinyl siding is an effective way to protect your home’s exterior from moisture and weather damage. Whether you're dealing with cracked, warped, or missing siding, the process involves careful removal and precise installation to ensure a secure fit.
Step 1: Remove damaged siding
Remove all the damaged pieces of the siding and the attached nails. Count each nail and ensure that none get loose, as these can cause problems, such as puncturing car tires.
Step 2: Trim the new siding
Use tin snips to trim a piece of new siding to fit the lowest gap. Most vinyl siding should overlap the pieces on either side of it by at least an inch; check the instructions from your siding manufacturer’s installation guide.
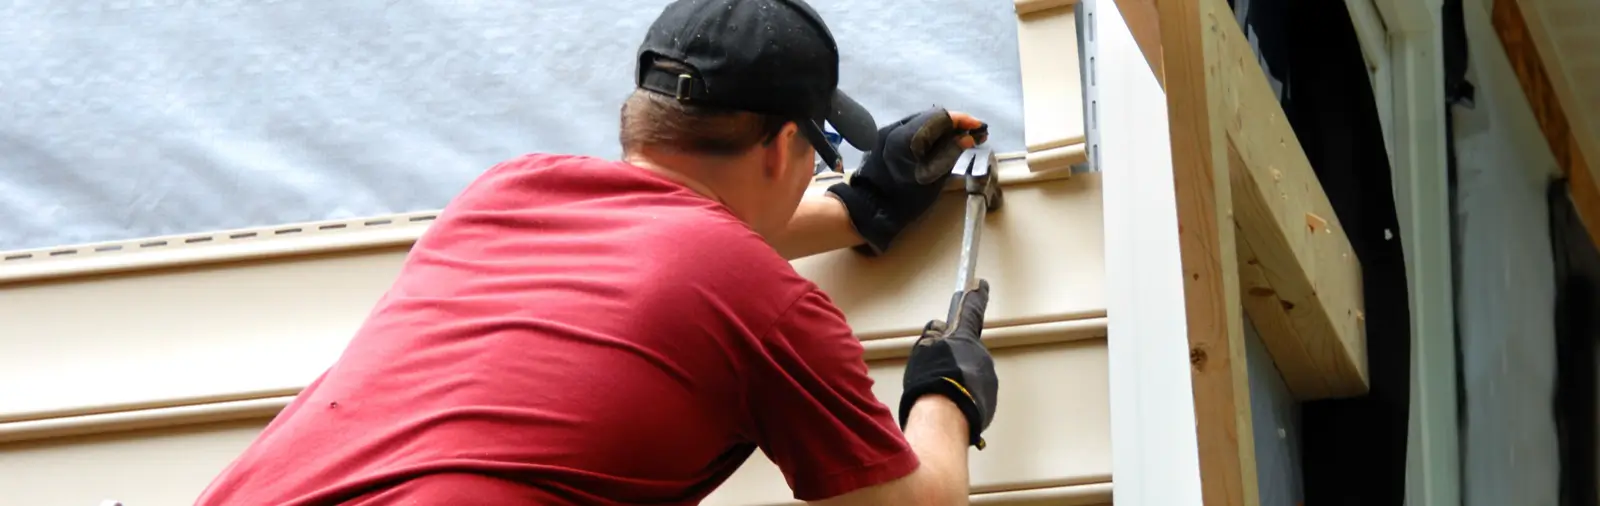
Step 3: Lock the siding in place
Modern vinyl siding uses interlocking technology to maintain watertight protection. The bottom channel of the new siding will lock into the top channel of the piece below it. Carefully slide the new siding piece into place.
Step 4: Nail the new siding
As you nail the new piece of siding, apply gentle upward pressure to ensure the two pieces stay interlocked.
Repeat this process until all the damaged vinyl siding is replaced.
How to Replace Plywood Siding
Plywood siding is a durable and low-maintenance siding option. But over time, the bottom edges of plywood sheets tend to become water-damaged and need to be replaced. Removing and replacing a plywood siding panel is straightforward but will take a good deal of time.
Step 1: Remove the damaged siding
Carefully remove the damaged siding with a claw hammer and pry bar. Try to preserve the old piece as a template for cutting your new plywood sheet.
Step 2: Clear the area
Remove any old nails, paint, and caulk from around the siding. A utility knife can be handy for this task. Keep track of all old nails and discard them.
Step 3: Measure and cut new plywood
Use the old plywood as a guide to measure a new piece of siding and mark any additional cuts required. Make sure the grooves on the new panel go in the right direction. Make the edge cuts with a circular saw and a jigsaw to cut out vent, window, and power outlet openings.
Step 4: Install the new siding
Nail the new piece of siding in place and caulk all the edges.
Step 5: Prime and paint
Once the caulk is dry, prime and paint the wood. Don’t be stingy with the primer; it will help prevent water damage from occurring in the future.
Repeat this process until all the damaged plywood siding panels are replaced.
How to Replace Wood Lap Siding
If a small piece of your wood siding is damaged, you may be able to get away with a quick replacement project.
Step 1: Remove the damaged siding
Even if only a small piece of a slat is damaged, you will want to replace the section of wood between at least two studs. This will allow you to attach the new piece of siding to two studs, which ensures a secure fitting. To remove all the damaged siding, use the oscillating multi-tool to cut the hidden nails and carefully remove the wood with a pry bar.
Step 2: Clear the area
Remove any old nails, paint, and caulk from around the siding. A utility knife can be handy for this task. Keep track of all old nails and discard them
Step 3: Measure and cut
Use the old siding to measure the new piece and a circular saw to cut the new siding to fit the gap. Remember: Measure twice, cut once.
Step 4: Install the new siding
Nail the new piece of siding in place. Caulk all the edges.
Step 5: Prime and paint
Once the caulk is dry, prime and paint the wood. Plan to apply at least two coats of paint.
How to Replace Fiber Cement Siding
Fiber cement siding is constructed with Portland cement and wood pulp. It’s durable, but it can become water-damaged. Typical areas that show wear and damage are the boards on the lower rows of the siding. Here's how to replace your fiber cement siding.
Step 1: Remove the damaged siding
Use a pry bar to remove the damaged pieces of fiber cement siding.
Step 2: Remove old nails
Remove nails from the top piece of the remaining siding. Keep track of all old nails and discard them.
Step 3: Cut the new siding
Wear a dust mask and eye protection, and cut the replacement board to the correct length.
Step 4: Install the new siding
Blind-nail the fiber cement siding in place, beginning with the bottom piece.
Step 5: Secure the siding
Face-nail the top piece of the new siding through the old one.
Step 6: Prime and paint
Prime and paint the replacement boards to blend with the existing siding.
Need Help Replacing the Siding on Your House?
Ready to replace siding on your house? Your local Mr. Handyman service professionals will repair your home’s exterior and restore your home's beauty. You can count on our experienced service professionals for siding and all your home maintenance and repair projects.
Because Mr. Handyman is a member of the Neighborly® group of home services providers, you also get the Neighborly Done Right Promise®, ensuring that your home repairs and improvements are completed to your satisfaction. Find out how we can assist with your home’s siding by requesting service now.
This article is intended for general informational purposes only and may not be applicable to every situation. You are responsible for determining the proper course of action for your home and property. Mr. Handyman is not responsible for any damages that occur as a result of this blog content or your actions. For the most accurate guidance, contact your local Mr. Handyman location for a comprehensive, on-site assessment.